
One of our goals is to make it easy for you to create your own theme styles. In this article, we will first explain how to modify an existing them and then review the process for creating a new theme style called Freedom which we will add as a new sixth style to our spring theme (along with freedica, meadow, sky, mist and sun).
Modify an Existing Theme
In our last article, we set the Meadow style for the Site pages and the Sky style for the Member pages. But there is a problem. The banner for our Site Home page reads: “Welcome to our Spring Meadow Banner” Also the Text on our Home page reads “Welcome to our Freedica Network and has a brown background rather than a green background:
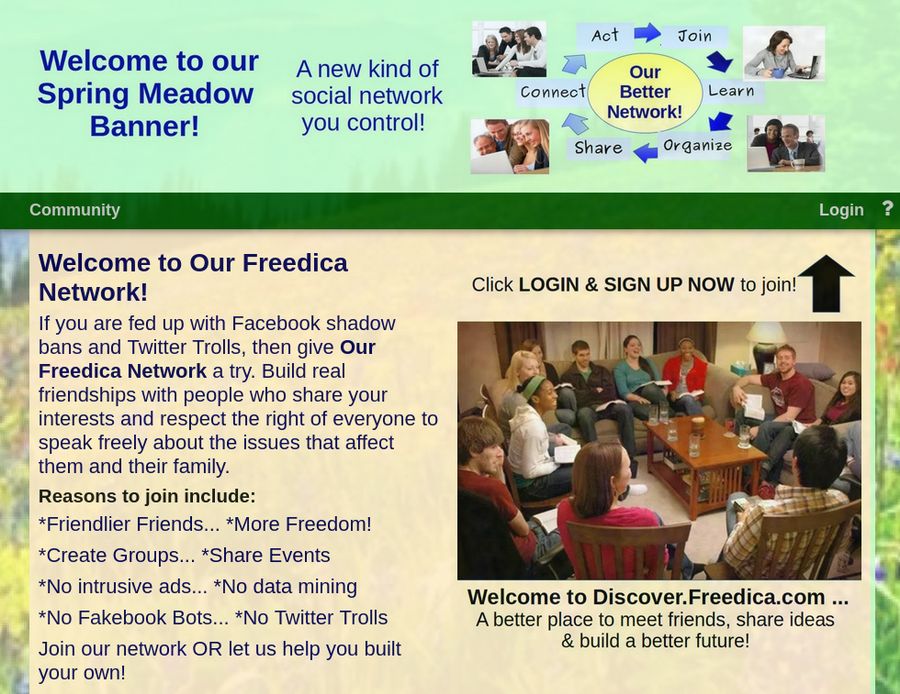
Here, we will review how to change the banner and text to match the name of your network. We will then explain how to create your own theme using your own colors, text and background images.
Step 1 Change the Home page Title, Text and Color
Freedica includes five HTML files that make it easy to customize the home page. Log into your Hestia Control Panel and click on the User account. Then click Files, Web, your network domain, public_html. Rename the home.html as freedica-home.html. Then rename meadow-home.html as home.html.
Also rename home.css as freedica-home.css and meadow-home.css as home.css. Then clear the browser cache and reload the Home page.
To change the text of the Home page, just open and edit the home.html file.
Step 2 Change the Meadow Welcome Image
The 5 Welcome images and 5 Banner images were made using special Libre Draw documents. To download these a zipped package containing all ten of these files, go to Freedica.org and click on the Free Downloads menu item. Here is the direct link:
https://www.freedica.org/free-downloads
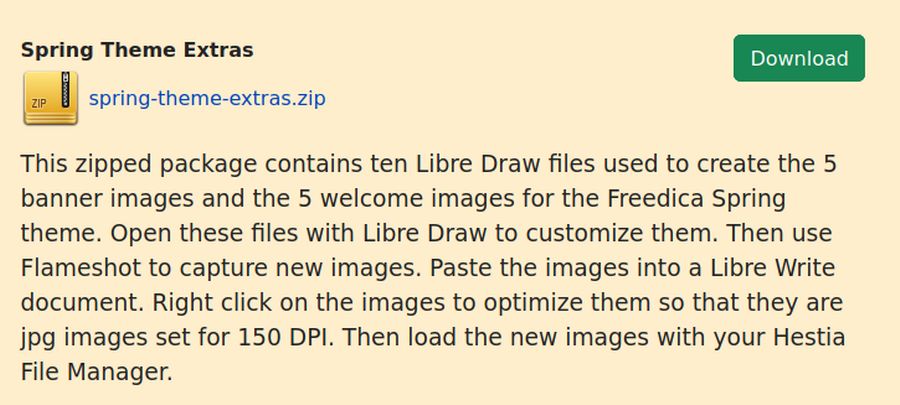
This zipped package contains ten Libre Draw files used to create the 5 banner images and the 5 welcome images for the Freedica Spring theme. Unzip the zipped folder. Then open the draw-welcome folder. Then open the meadow-welcome file with Libre Draw to edit it.

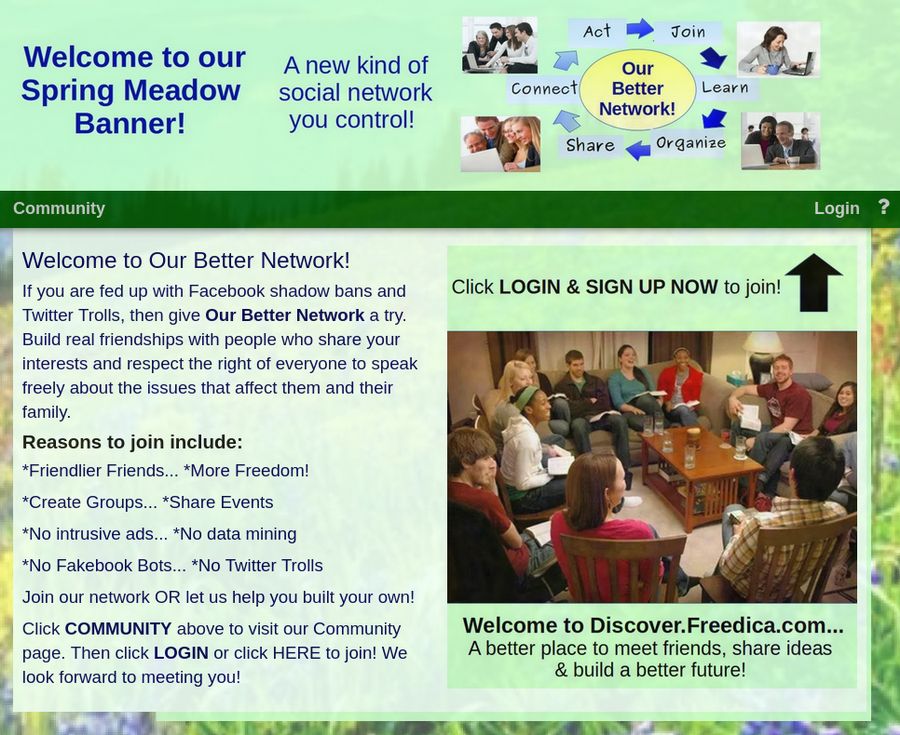
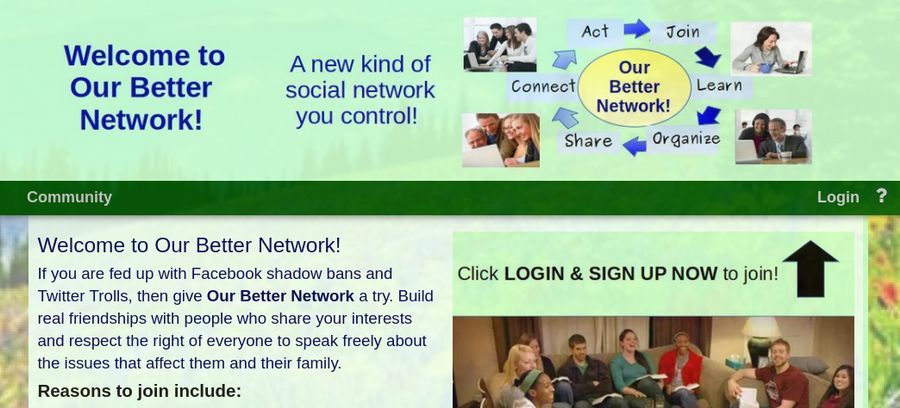
Use Flameshot to capture new image. Paste the image into a Libre Writer document. Right click on the image to optimize it so that it is a jpg image set for 150 DPI. Then save the image to your network images folder as meadow-welcome.jpg. Then use your Hestia File Manager to go to your public_html/images folder and delete the old meadow-welcome.jpg image. Then add the new meadow-welcome.jpg image. Then clear the browser cache and reload your Network Home page:
The Welcome image now has the correct text. But we still need to change the name on the Meadow banner image.
Homework assignment: Use the same process to change the Sky, Mist and Sun Welcome images.
Step 3 Change the Meadow Banner Image
Open the draw-banner folder. Then open the meadow-banner file with Libre Draw to edit it. Change the text and images to whatever you want – but leave it at the default image ratio.
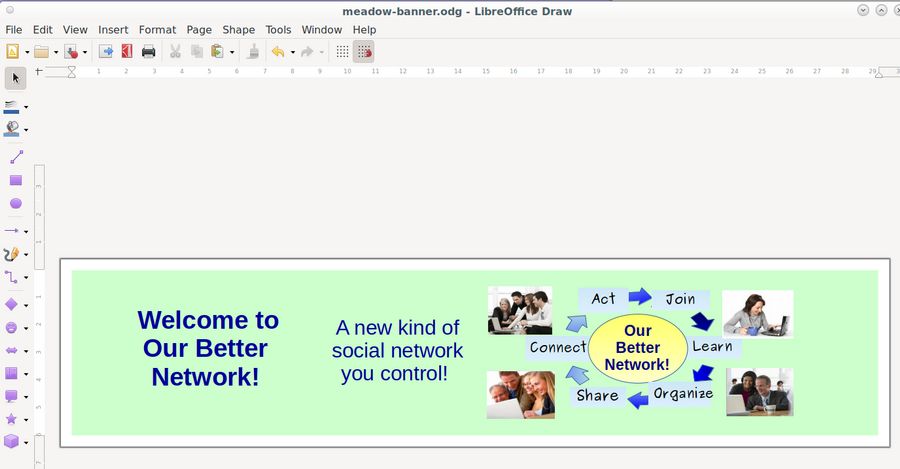
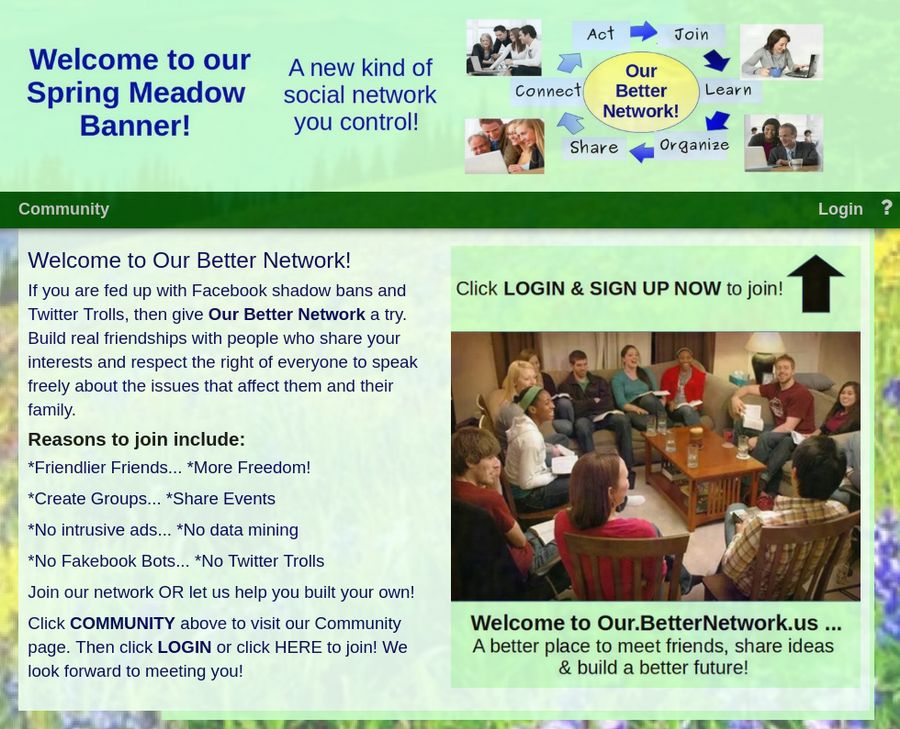
Use Flameshot to capture new image. Paste the image into a Libre Writer document. Right click on the image to optimize it so that it is a jpg image set for 150 DPI. Then save the image to your network images folder as meadow-banner-bg.jpg. Then use your Hestia File Manager to go to your public_html/view/theme/spring/images folder and delete the old meadow-banner-bg.jpg image. Then add the new meadow-banner-bg.jpg image. Then clear the browser cache and reload your Network Home page:
Homework assignment: Use the same process to change the Sky, Mist and Sun Banner images.
Step 4 Create your own custom style images
To demonstrate the process of creating your own custom style, we will create a new style called freedom. We will need a banner image, a welcome image, a body image and an aside image. The first thing we need to decide is the style background color. Go to your spring-theme-extras folder and open the draw-banner folder. Copy the sky-banner file and rename the copy freedom-banner.odg. Then open the freedom-banner file with Libre Draw.
The sky style is a sky blue color: CCEEFF. The mist style is a slate blue color: BBCCEE. Click Page, Page Properties, Background. Click Pick and set the hex value to DDCCFF. Then click OK.

Next we will replace the images on the right with the text “We the People” surrounded by an American flag:
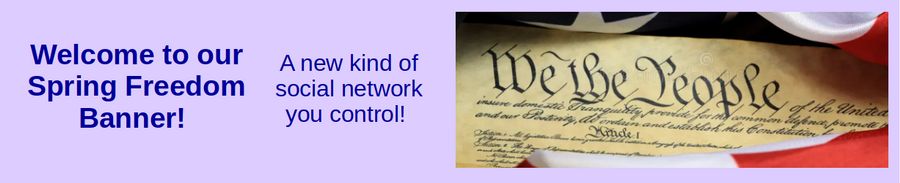
Copy the image to a Writer document. Right click on the image and click Compress to change the type to jpg and change the resolution to 150 DPI. Then save the image as freedom-banner-bg.jpg.
Next open the draw-welcome folder and copy the sky-welcome file. Rename the copy freedom-welcome.odg. Then open the freedom-welcome file with Libre Draw and click Page, Page Properties, Background. Click Pick and set the hex value to DDCCFF. Then click OK. Then click on the top blue box to select it. Right click and click Area. Then change the color to DDCCFF and click OK. Repeat to change the background color of the bottom box.

Copy the image to a Writer document. Right click on the image and click Compress to change the type to jpg and change the resolution to 150 DPI. Then save the image as freedom-welcome.jpg.
Next we need a freedom background image for our member pages. We will use a faded American flag:

Save the image as freedom-body-bg.jpg.
Then open the image with Gthumb and increase the size to 1800px by 1200px. Then open the 1800px by 1200px and use Gthumb to crop the image to create a freedom-aside-bg.jpg that is 200px by 1200px.
Step 5 Load the freedom-Welcome image to the public_html/images folder.
We will eventually include all of these images in their proper folders with the next update to Freedica on Codeberg. For now, use the Hestia file manager to go to the public_html images folder. Then click Add Files to upload the freedom-welcome.jpg image.
Step 6 Load the other three freedom images to the view/theme/spring images folder
Go to view/theme/spring/ images and click Add to add the three freedom images to the spring theme images folder.
Step 7 Create the freedom-home.html file
Copy the sky-home.html file and name it freedom-home.html. Then open the freedom-home.html file with Bluefish and on Line 21, change the word sky to freedom. Then go to the public_html folder with Hestia and add this file to the public folder.
Step 8 Create the freedom-home.css file.
Copy the sky-home.css file and name it freedom-home.css. Then open the freedom-home.css file with Bluefish and on Line 9, change eef3ff to eeddff. Then go to the public_html folder with Hestia and add this file to the public folder.
Step 9 Create the freedom.css file
The freedom.css file is different from the freedom-home.css file. To create the freedom.css file, go to view/theme/spring and copy the sky.css file. Place the copy in the theme folder. Rename it freedom.css. Then move freedom.css to the spring folder. Then open the freedom css file. On Lines 16, 33 and 62, change sky to freedom. On Lines 29 and 60, change ddeeff to eeddff. Then save and close the file.
Step 10 Add the freedom style to spring config PHP file
In the spring folder, open config.php. Scroll down to Line 123 and create a new line. Then copy Line 122 to 123. Change freedica to freedom and Freedica to Freedom. Then save the file.
Step 11 Test the new Freedom style
Go to the public_html folder. Rename home.css to meadow-home.css and home.html to meadow-home.html. Then rename freedom-home.css to home.css and freedom-home.html to home.html. Then clear the browser cache and reload the Network Home page.
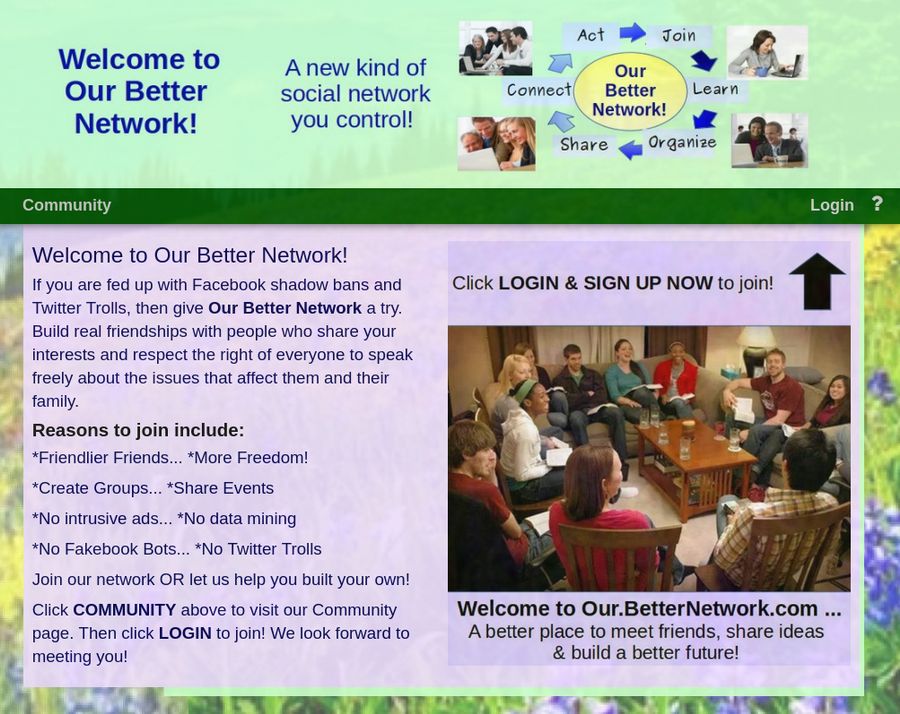
Login as the admin and go to Admin, Site, General Information. Click Change Default Theme settings. Then change the style from Meadow to Freedom and click Submit. Then click Settings, Display and change the style from Sky to Freedom and click Submit. Then visit the Community Page.
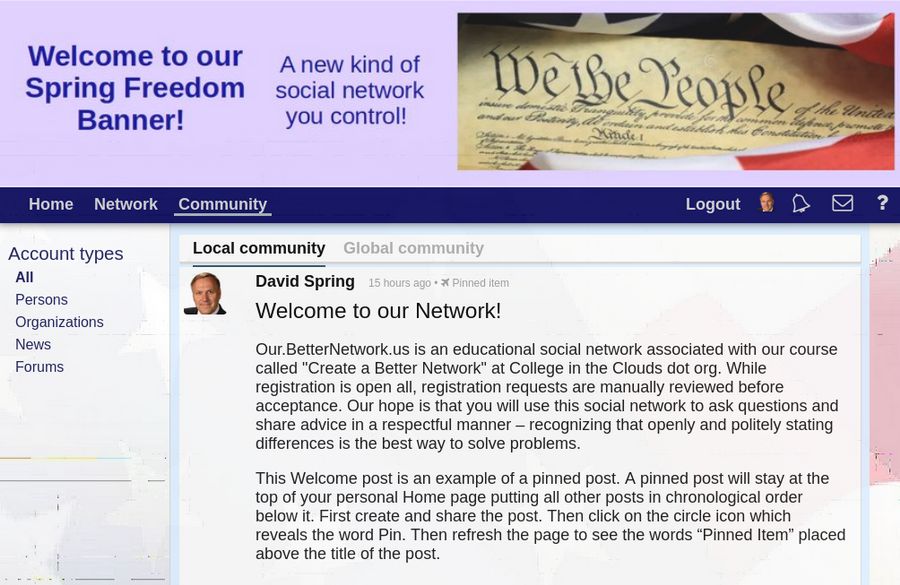
The aside image has a couple of thin lines that need to be fixed. Logout to view the Home Welcome page:
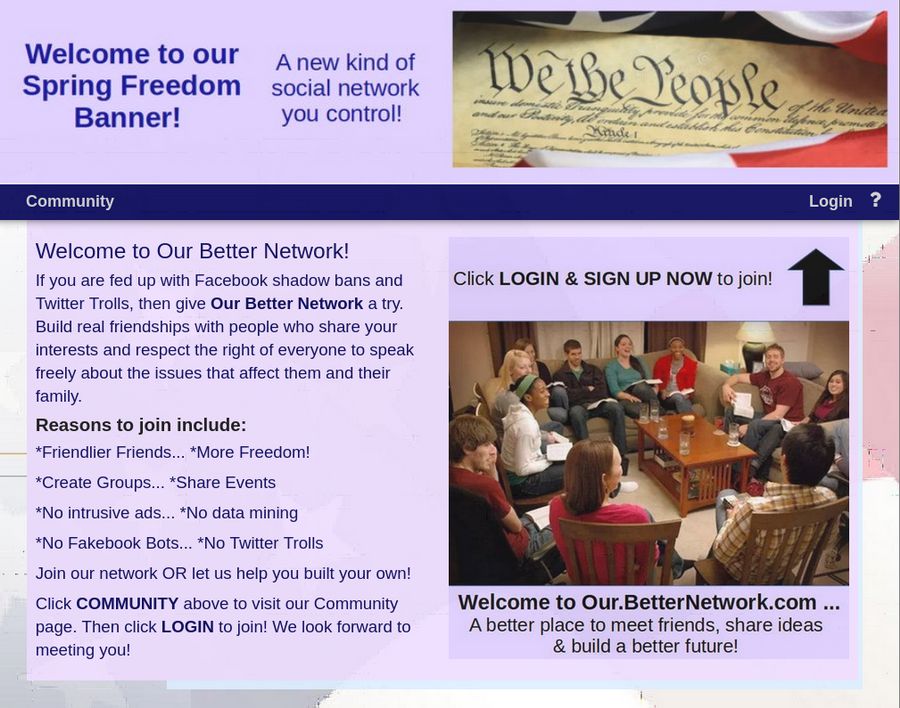
Congratulations! You now know how to create your own styles!
Step 12 Add the freedom style to our Codeberg repository
After we replace the body and background images with better ones, we will add these files to their folders on our Git copy of freedica. We will then use Git Cola to import these files to our Codeberg repository where they will become part of Freedica that can be downloaded and installed by anyone who wishes to create their own social network.
What’s Next?
In our next article, we will review the Member Registration and Admin Moderation process.