
In this article, we will first review how to a create simple post. We will then add a pinned post, a post with formatted text, a post with a link, a post with an image, a post with a video and finally a post with a Topic Tag which can be found by members doing a search with the Member Menu Search box.
Step 1 Create a Simple Post
Freedica does not have a character post limit. But you should still keep posts short. If you have lengthy information of more than a couple of paragraphs, you should write it as an article on a separate website and then post an introduction and a link to the main article. You can make a post from either the Conversations tab of your Profile Home page or the Network page. Either way, click on the Share box to create a new post.
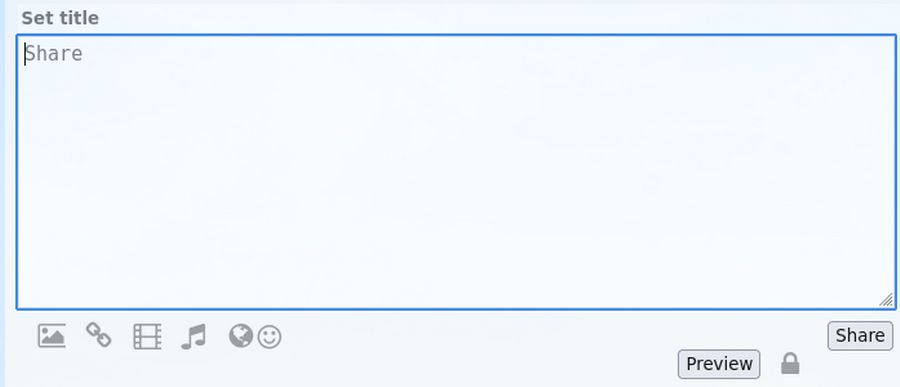
Click on Set title to give the post a title such as My First Post. Then in the big empty box, type a short post.
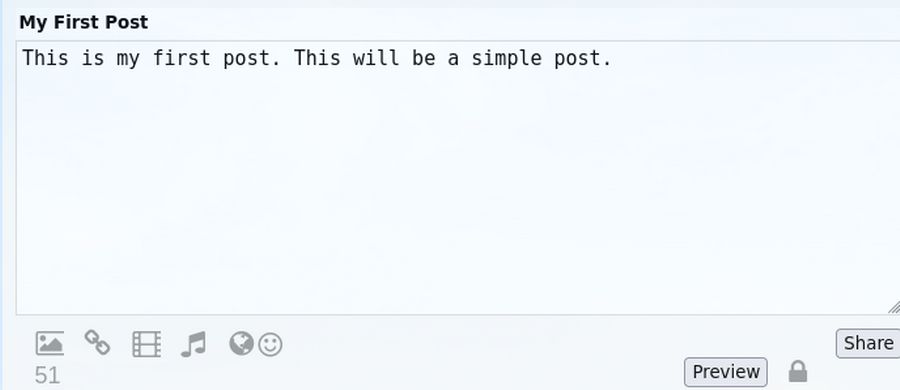
Then click Share. Then click on Community to see the result.
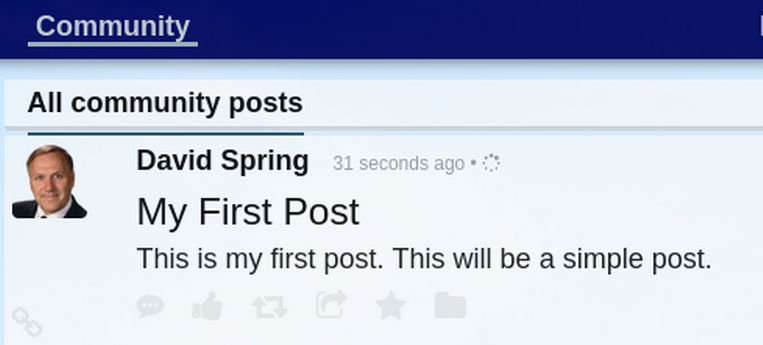
Note that while you can create a new post on the Network page, you can only view posts on the Community page. So go back to the Network page to create a second post.
Step 2 Create a Pinned Post
A pinned post is a post that will stay at the top of the page. The pinned post will stay at the top of your Profile Home Conversations page, but not at the top of the Network page or the Community Page. It is most common to use a Pinned Post to introduce yourself to the group or to introduce the network to new members. Click Share to create your second post. For Title, type: Welcome to our Network!
For the description, copy paste: Our social network is under our control rather than being controlled by some billionaire. This post is an example of a pinned post that will stay at the top of my Profile Home Conversations page. To make your own pinned post, first share your post. Then click on the round Pin icon to pin your post to the top of your Profile Home Conversations page.
Then click Share. Then click the round icon below the post:
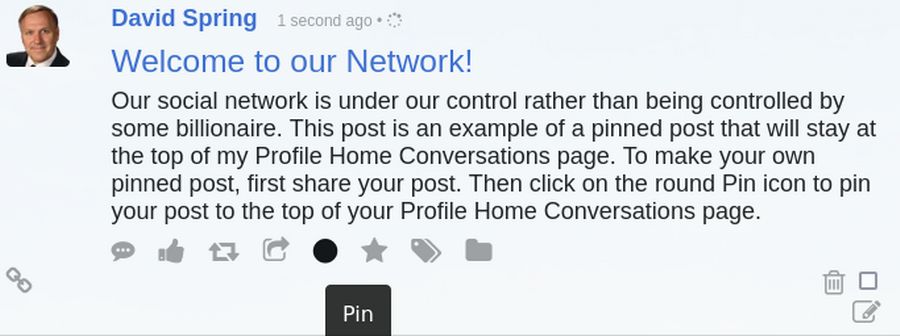
The words Pinned Item will appear above the title.
Step 3 Create a post with formatted text
Our post editor does not have any buttons for formatting the text in your posts. For example, there is no button to make some words bold. This is a good thing because adding bold text to posts can be impolite as some people interpret bold text (and capitalizing all the letters in a word) to be a form of shouting. It is therefore best to keep text formatting to a minimum.
However, there are some times when bolding a particular word or phrase can help clarify what you are trying to say. Therefore, you can manually format text inside the post editor by adding BB Code – which is a simple text formatting tool. Below is a summary of some common BB code formatting options:
Text
[b]Bold[/b]
[i]Italic[/i]
[u]Underline[/u]
[quote]A quote with no name[/quote]
Headings
[h1]Header 1[/h1]
[h2]Header 2[/h2]
[h3]Header 3[/h3]
Links
[url]example.com[/url]
[url=example.com]Click me[/url]
Images must begin with https:
[img]https://collegeintheclouds.org/img/spinner.gif[/img]
Click Share to create your third post.
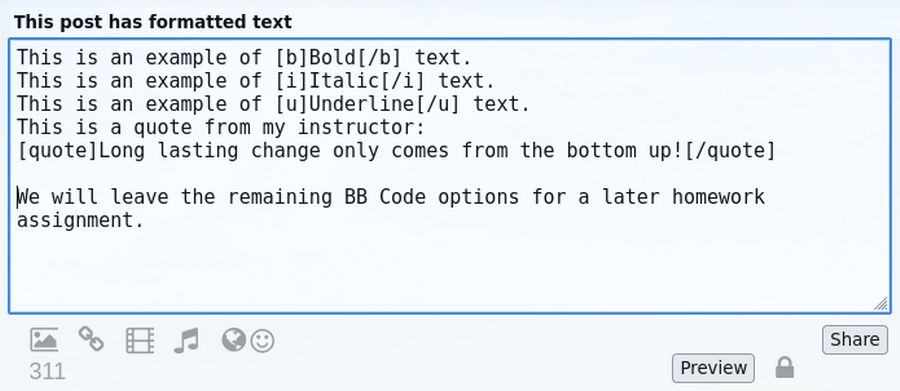
For title, type: This post has formatted text
For description, copy paste: This is an example of [b]Bold[/b] text. This is an example of [i]Italic[/i] text. This is an example of [u]Underline[/u] text. This is a quote from my instructor:
[quote]Long lasting change only comes from the bottom up![/quote]
We will leave the remaining BB Code options for a later homework assignment.
Here is what this post looks like in the Post Editor:
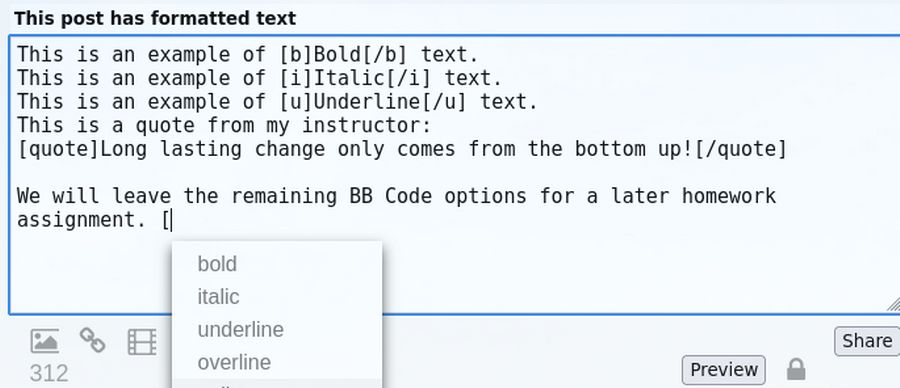
Note that there is a hidden BB Code tool hidden inside the editor. Just type the opening bracket [ to display these options:
For now, click Share.
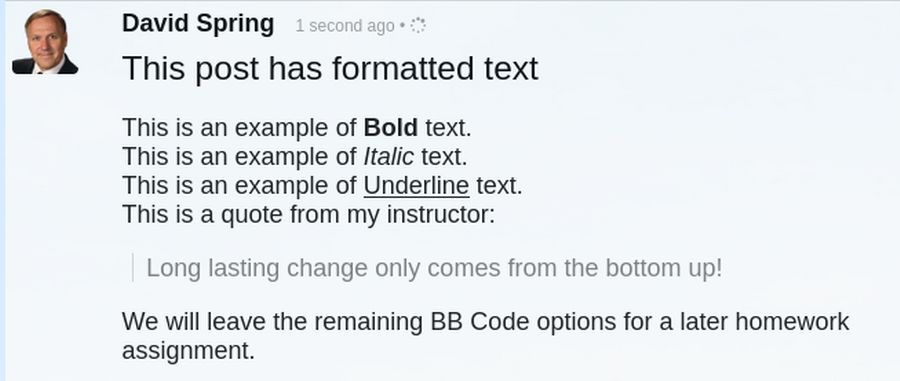
Click the Home Conversations page and note that the Pinned post appears at the top of the page with the other posts time ordered below the pinned post.
Step 4 Create a post with a link
Often when you create a post, your goal is to encourage other members to visit another page on the Internet. To create a link, first visit the page and copy the URL in your browser. Here is a link to our courses at College in the Clouds: https://collegeintheclouds.org/
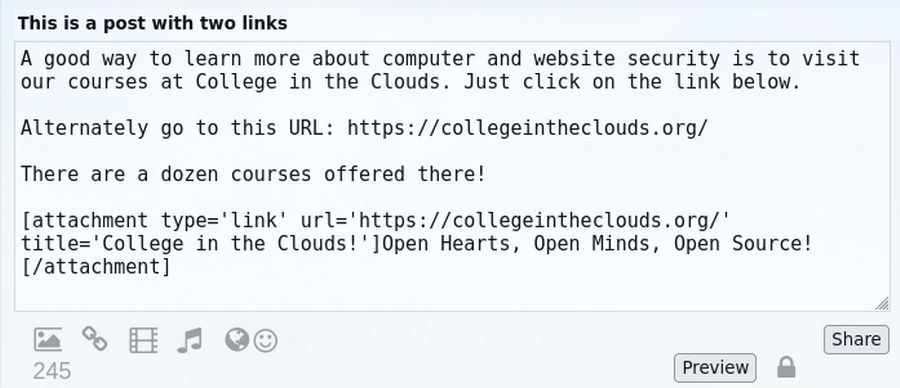
Click Share to create your fourth post. For Title, type This is a post with two links
For Description, copy paste: A good way to learn more about computer and website security is to visit our courses at College in the Clouds. Just click on the link below.
Alternately go to this URL: https://collegeintheclouds.org/
There are a dozen courses offered there!
Then click the LINK icon which is the second icon from the left at the bottom of the post editor. This will bring up the Link popup:

Enter the URL of the page you want readers to visit. Then click OK. Here is what the post editor now looks like:
Click Share.
The first link is called an external or exposed link. There is no need to click on the Link button to have this link appear. I recommend this link for security because visitors can evaluate the link before clicking on it. However, the most common link is the internal link at the bottom of the post because it looks nicer. Click on both of these links to verify that they go to the page you want.
Step 5 Create a Post with an Image
Adding an image is worth a thousand words. There are a couple of different ways to add images to your posts.
The first way is to load the image to some other website and then get the absolute or full URL and include that in your post. The second way is to use the Post Editor to load the image to your network and then linking to that image.
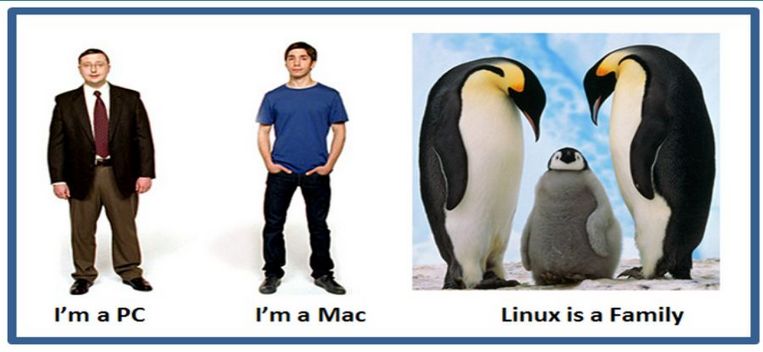
Here is an example of the first option. Go to college in the clouds and right click on the fourth image in the Welcome article. Then click copy image link:
https://collegeintheclouds.org/images/2022-welcome/04.jpg
Then click Share to create your fifth post. For title, type: This is a post with a link to an external image.
For description type: This is why Linux computers are better than Windows or Apple.
Then press Enter to start a new line. Then Then click on the Link icon and add the image URL. Then press OK. Here is what the Post Editor looks like:
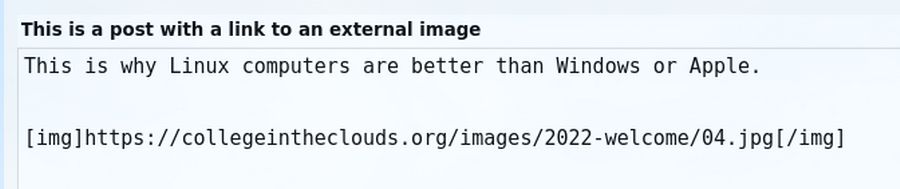
Note that the Post Editor knows the link is to an image and therefore puts the BB Code image tag around the image link. Click Share.
The second way is to use the Post Editor to load an image from your laptop to your Profile Images. It is important that before doing this, you optimize the image with Libre Writer to make sure that the file size of the image is under 100KB. Click Share again.
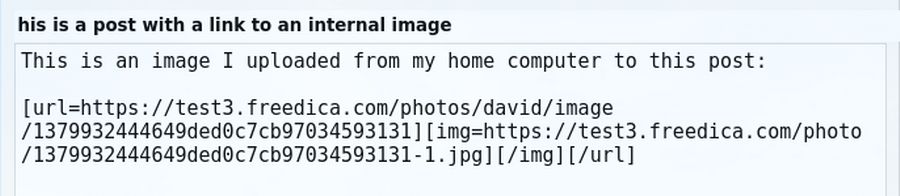
For Title, type: This is a post with a link to an internal image
For text, type: This is an image I uploaded from my home computer to this post:
Press Enter on your keyboard to start a new line. Then click on the image icon which is the first icon on the left at the bottom of the Post Editor. This will bring up a window to load an image. Click Upload and select the image you want to post:
Then click on the image to select it. Here is what the Post Editor now looks like:
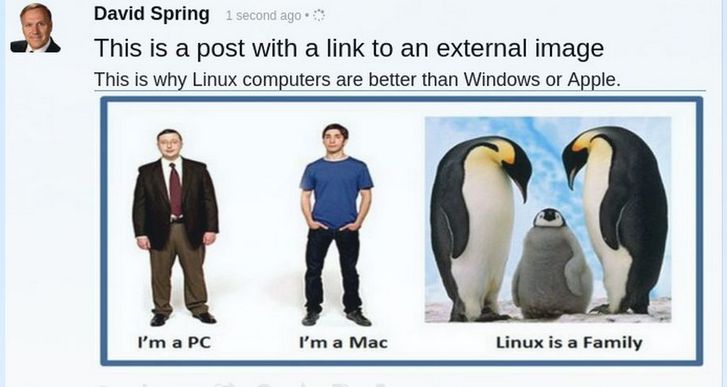
Click Share. Here is the result:
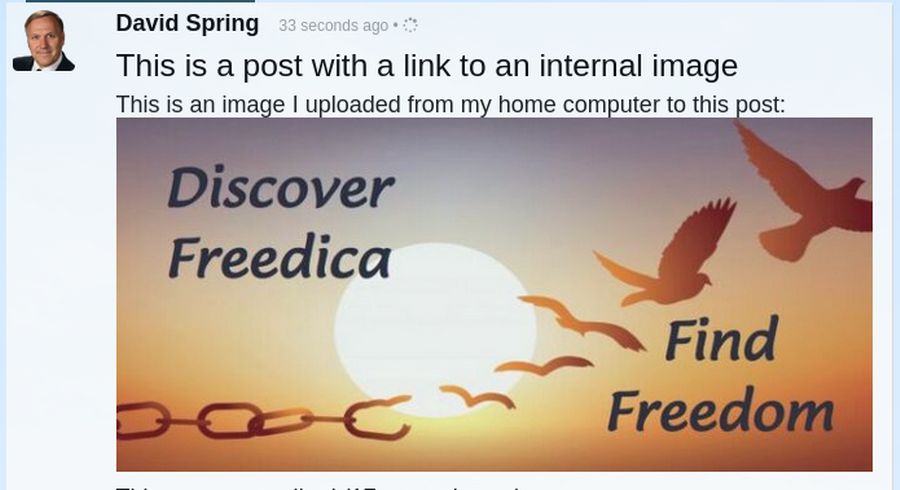
The benefit of using an internal link rather than an external link is that there is no need to worry about the image being taken down from the external website which would cause a broken link in your post.
Note: If you have a long article with lots of images, it is much easier to add the article with the images to a Joomla website and then link the Joomla article URL to your Freedica post.
Step 6 Create a post with a video
Loading a video to your network is not wise because videos have an extremely large file size. It is therefore essential to post the video to a video hosting platform like Rumble and then clicking on the video to get the Share URL to that video. Here is the Share URL to our College in the Clouds video:
https://rumble.com/vyo77w-welcome-to-college-in-the-clouds.html
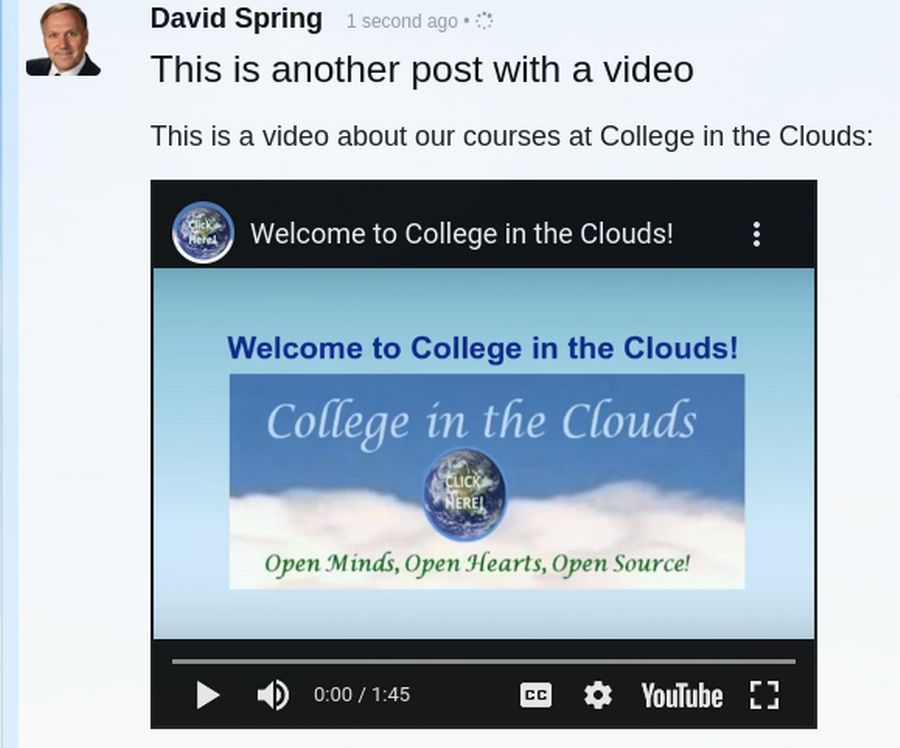
Click Share. For the title, type: This is a post with a video.
For Description, type: This is a video about our courses at College in the Clouds:
Then press Enter with your keyboard. Then click on the video icon which is the fourth icon from the left at the bottom of the Post Editor.
Enter the Share video link in the popup and click OK. The post editor will put BB Code video tags around this link. Then click Share.
Here is the result:
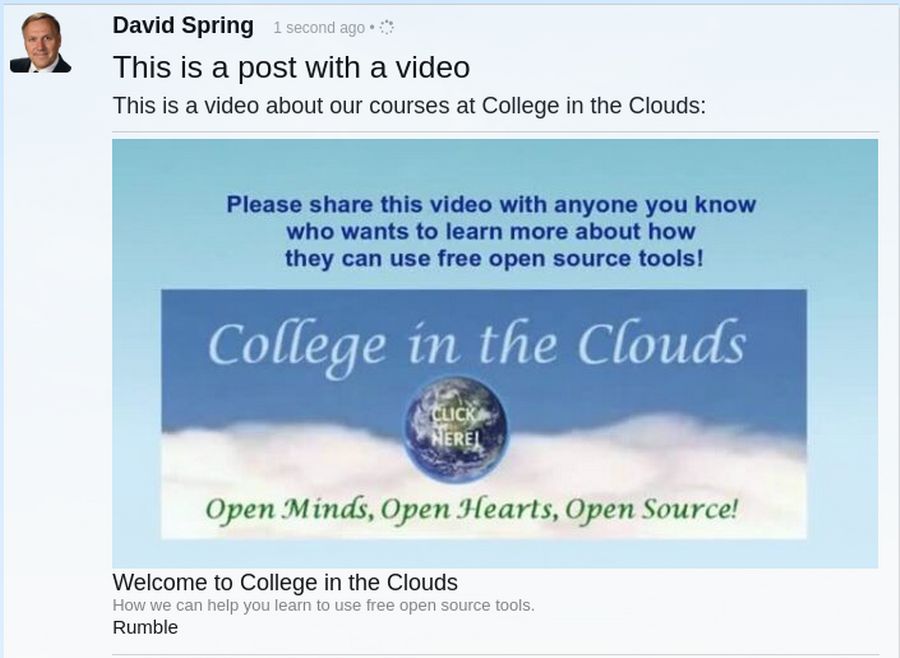
Sadly, when we click on the Rumble link, it takes our visitor to the Rumble website to play the video rather than playing the video on our local network website. This is OK. But not really what we want. Here is the same post but with the YouTube Share link rather than the Rumble Share link: https://youtu.be/yboWT4OwqEk
While I am not a fan of YouTube, I also am not a fan of Rumble. We will post videos to Bitchute which should post videos properly.
Step 7 Use a Topic Tag to Create a Searchable Post
In addition to adding “Important Issue” searchable key words in our Member Profile to search for members with common interests, we can add one or more “Topic tags” to our posts in order to help others find posts on topics they are interested in. Topic tags are also called Hash Tags. But we will use the term Topic Tag to avoid confusing these tags with our Important Issues which are also displayed and searched with Hash Tags. To create a new post, click on the Share box. Enter a title and some text. Then click Share.
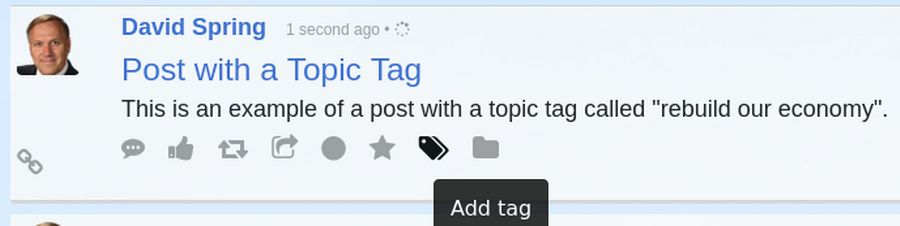
Then click Add tag to bring up this window:
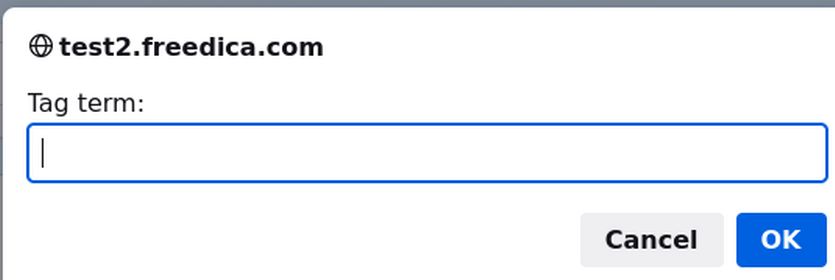
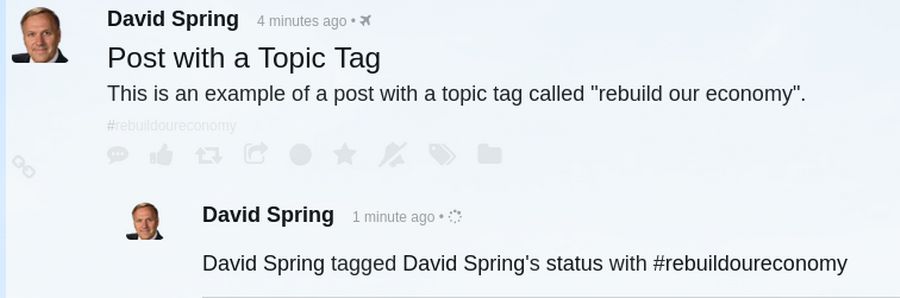
Enter #rebuildoureconomy. Then click OK. Then wait a minute and reload the page.
Then in the member menu, click Search. Enter #rebuildoureconomy into the search box and click Search:
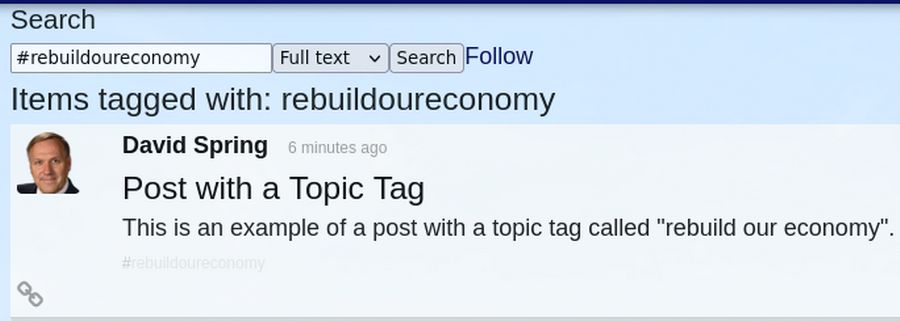
Click on the icon in the lower left corner to view the Topic tag in the context of the rest of the post. Next, click on Home again to see your Welcome post pinned to the top of your Home page and the Topic Tag post below it.
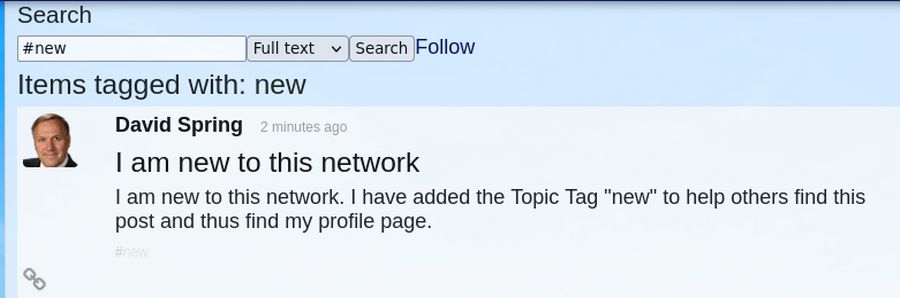
Click in the share box to add another post. Give it the title “I am new to this network”. Then add some text about yourself and click Share. Then click the Add tag icon and add the tag #new. Then search for the #new tag.
Click on the name of the person who made the post to go to their Profile page where you can request a friend connection. To see the Connection requests acceptance process, log out and log in as a different member. You should see one or more notices:
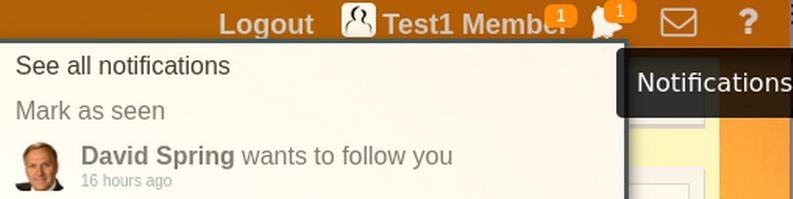
Click on the notice.
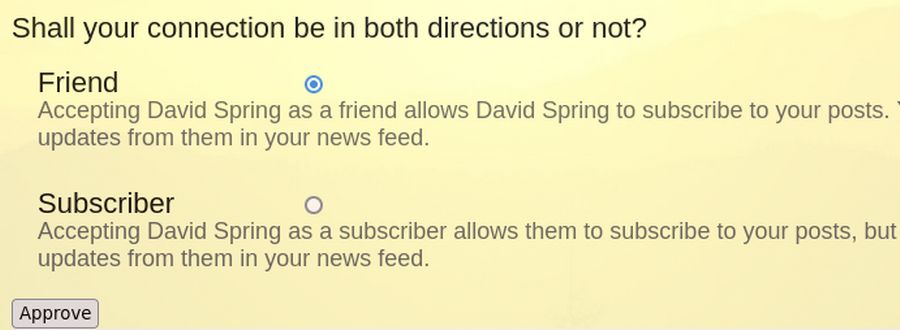
Click Approve. You can then optionally click Message to send them a message.
Next, in the Member menu, click Search. Then enter #new to see posts from new members. Alternately, click #rebuildoureconomy to see posts about rebuilding our economy.
From the above, we can see that if we want to search for people, we should use the Help, Directory search box or use the Find People menu item. If we want to search for topics, we should use the Member Menu Search box.
What’s Next?
Now that we know how to make a variety of different posts, in the next article, we will review some ways to invite others to join your network.