
Our Freedica social network comes with a default set of fields to fill out when creating your Profile Page. Most of these fields are searchable meaning that filling them out will help you find members who share your location, such as your State or School District or Congressional District. In addition, you can do searches and find new friends based on common shared interests. So there is a direct connection between your Profile page and your ability to build relationships with other members of our network. We have already added our Profile image. In this article, we will explain how to fill out your Personal Information, your Location Information and add one or more Custom fields.
Step 1 Fill out your Personal Information
Click Settings to reach the Edit Profile Details screen:
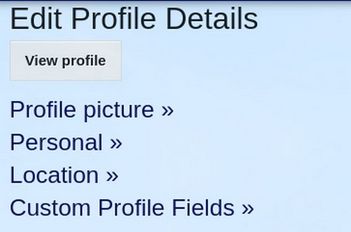
Then click Personal:
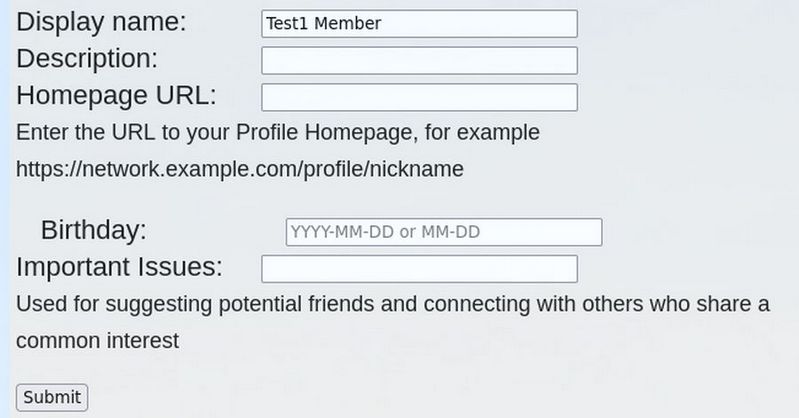
Leave the Display name set for the name you registered with. Then for Description, type one short sentence to describe yourself. In our example, I typed Website & Computer Security Instructor.
For Homepage URL, enter the URL to your Profile Homepage, for example https://network.example.com/profile/nickname. You can also just copy the URL in your Browser URL tab:
https://test3.freedica.com/settings/profile
Then delete the word profile and replace it with your nickname. In our example, this is
https://test3.freedica.com/settings/test1
The birthday field is optional. But the Important Issues field is very important. Important Issues are also called public key words meaning that they will show up in our network search engine. You should indicate 2 to 3 issues you feel are important as our network may eventually form groups to work on these issues. Place a comma after each issue. For example, here are three issues for our test1 member: stopendlesswars, rebuildoureconomy, restorefreespeech
Then click Submit.
Step 2: Fill out the Location form
Click Location.
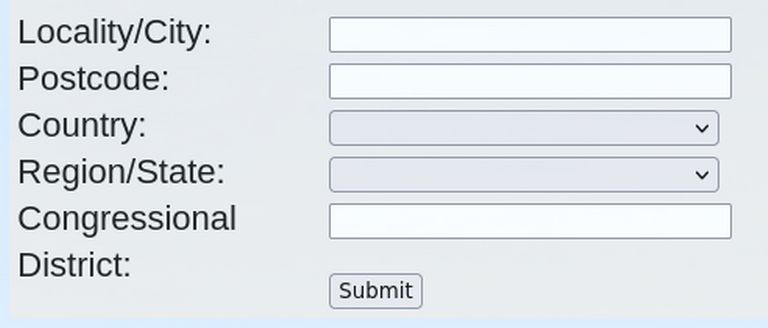
Fill in your City and Zip Code. For Country, select USA.
For Region, choose your State. For Congressional District, type your Congressional District. For example, 2nd Congressional District.
Then click Submit.
Step 3 Add one or more Custom fields
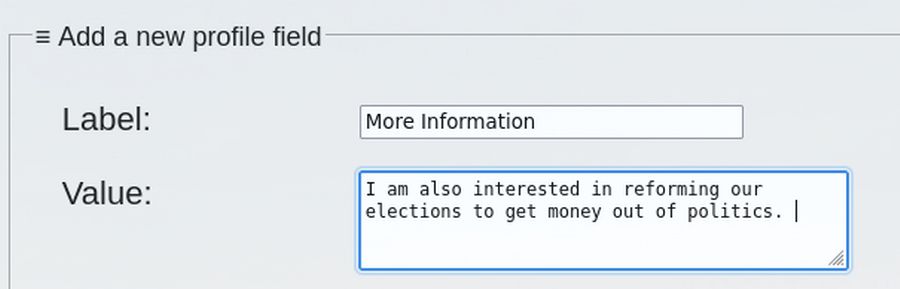
As I am a teacher, I will put in a link to my Courses website. Just type Courses Website for the label and out in the link to the website for the value:

You can put in a link to your own website or create a field for any other information you would like to share. For example, you can add a field called More Information and then add a few sentences about yourself.
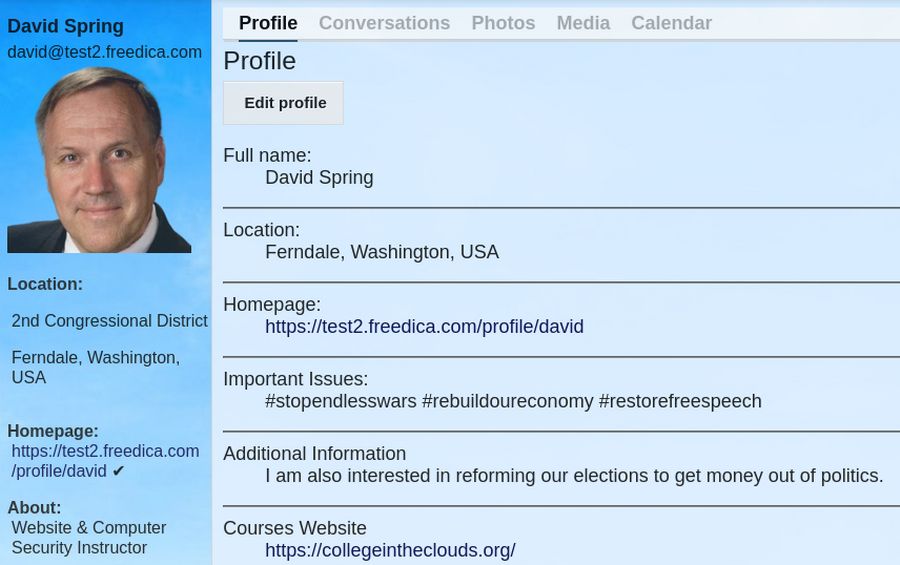
Then click Submit. The click View Profile. Here is an example of a completed profile:
Then log out. For educational purposes, I have added two more members to our network.
We are now ready to perform searches and make some friends.
Step 4 Search for Members by First or Last Name
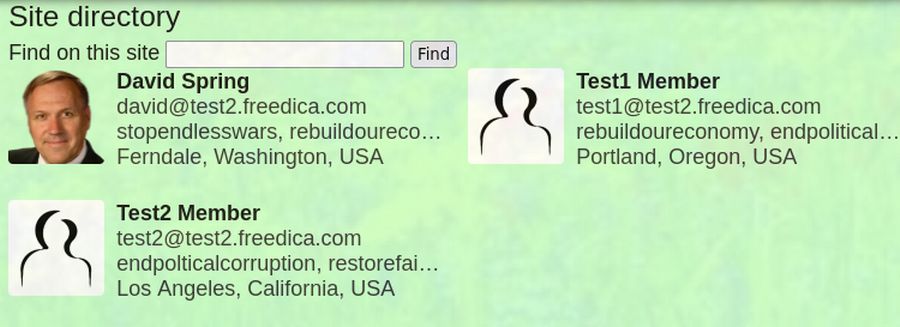
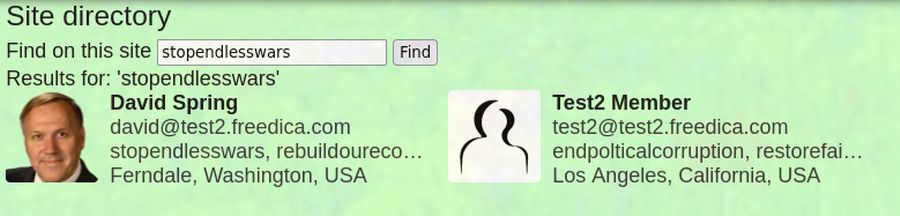
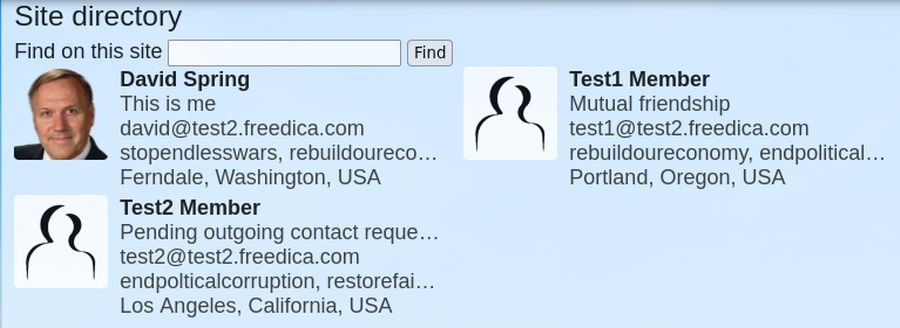
From the site member directory, enter the last name of the member you want to find:
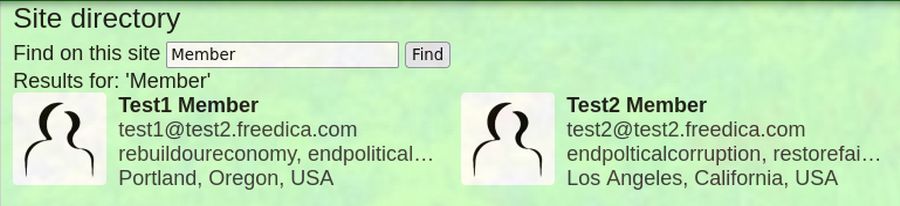
There are two members with the last name “Member.”
Step 5 Search for Members by Location
Enter the State you want to find members in:
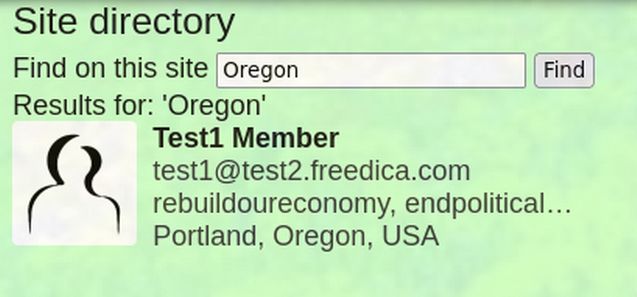
So far, our test site only has one member in Oregon. Hopefully, some day, we will have a thousand members in Oregon.
Step 6 Search by Important Issue:
Enter the Important Issue keyword with no spaces.
I have now found someone else who wants to stop endless wars.
Step 7 Search by words in the About section:
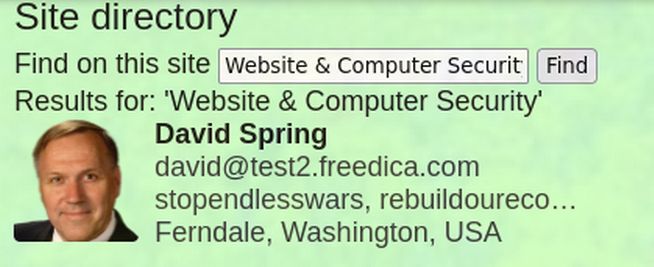
We really need more people interested Website & Computer Security.
Step 8 Invite more people to our network
Log in and, in the Member Menu, click Contacts.
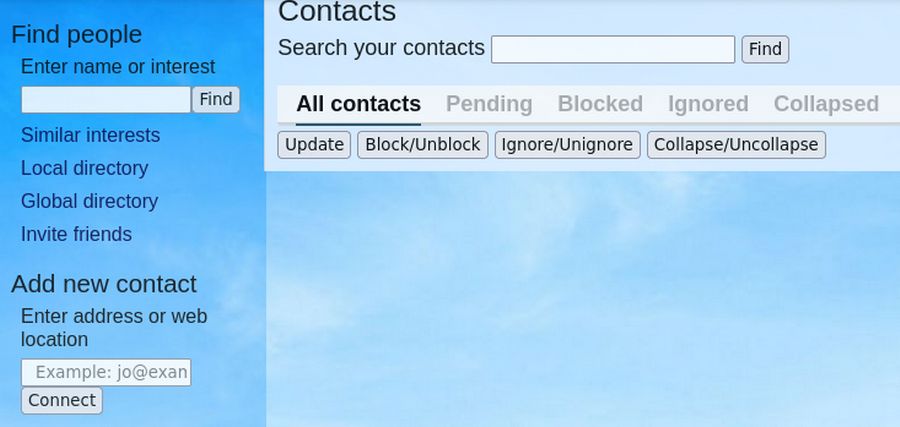
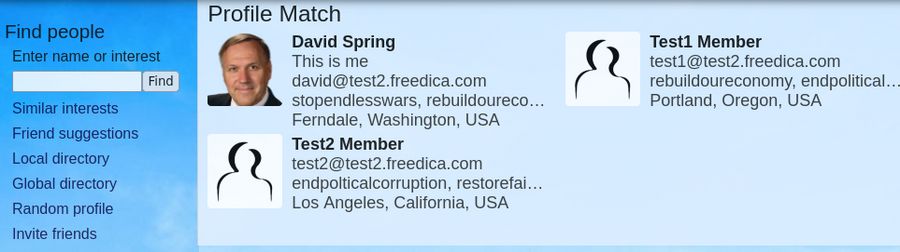
Click Similar interests in the left side menu.
We will make some friends in a moment. First we need to invite more people to our network. Click Invite Friends in the left side menu:
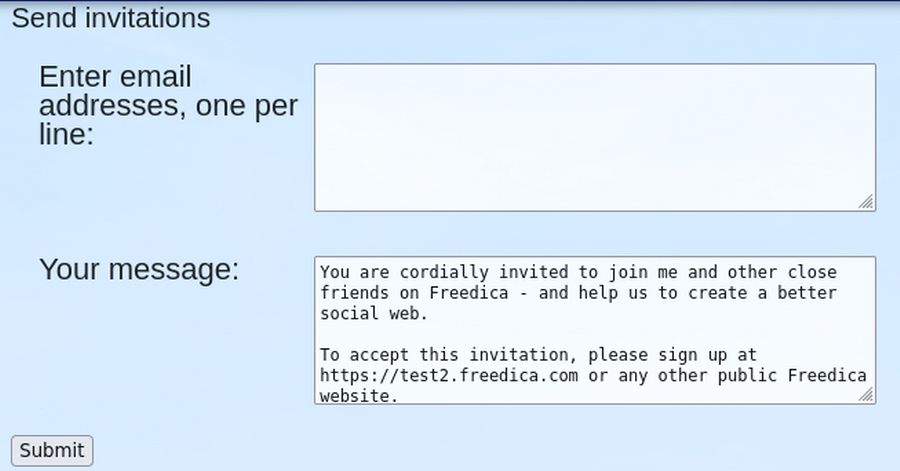
Enter email addresses with one email address per line. You can then customize the email message and send it to your friends.
If for some reason, the email process is not set up on your network, you can just send your friends a normal email and include a link to our network Home page.
Step 9 Make Connections (aka Friends and Followers) with other members on our Network
From a post a member made, click on their name to visit their profile. Alternately, log in and go to Site Directory. Hover over their Profile image to see View Profile, Network posts, View Contact and Connect/Follow.
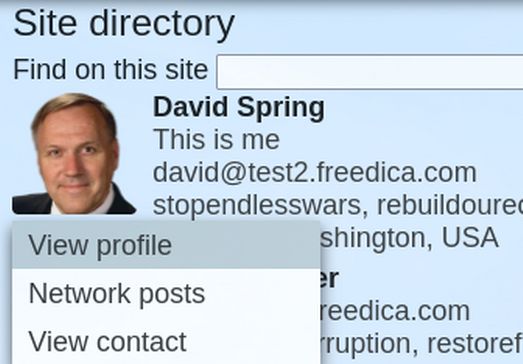
Click on View Profile to go to their Profile Page. Then in the side menu, click Follow.
Alternately, you can copy their network address
into the Add New Contact box in the side menu. Then click Connect to bring up this screen:
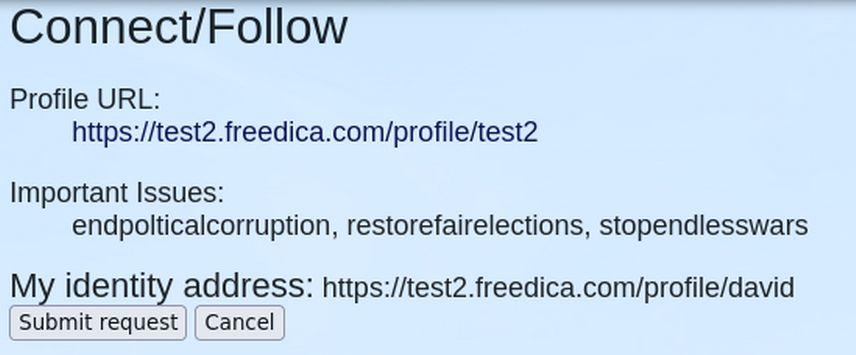
Click Submit request. Either way, in the side menu, click Message:
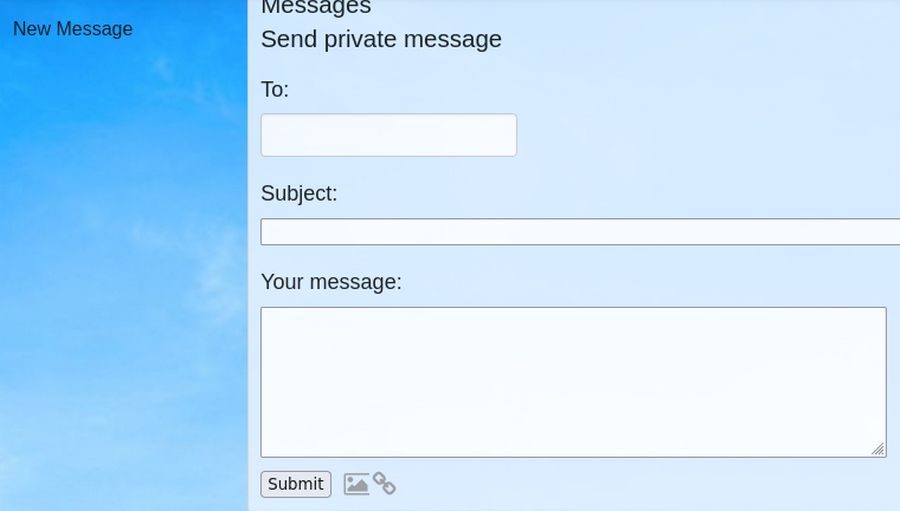
When you receive a friendship notification from another Freedica member, you will have the option of allowing them as a "Follower" or as a "Friend". If they are a follower, they can see what you have to say, including private communications that you send to them, but not vice versa. As a friend, you can both communicate with each other.
Step 10 Approve Connection Requests
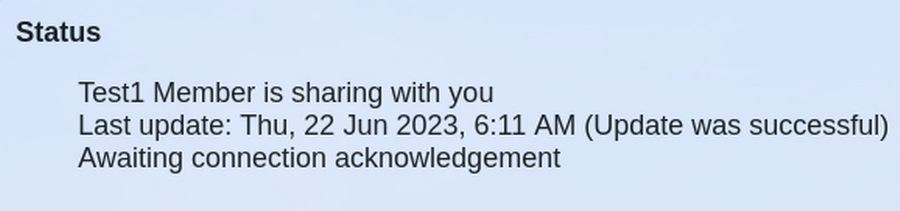
To see the Connection requests acceptance process, log out and log in as a different member. You should see one or more notices:
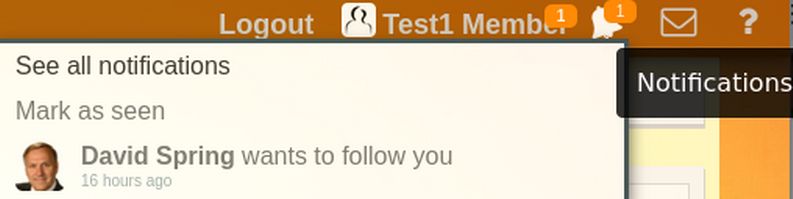
Click on the notice.
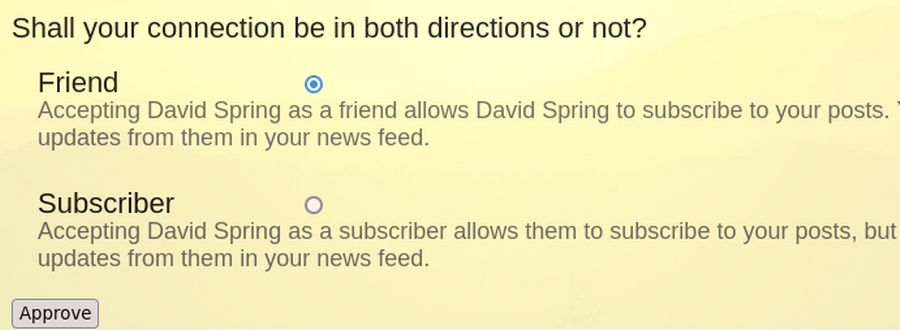
Click Approve. Optionally click Message to send them a message. The status of your connections will appear in the site directory when you are logged in:
Two Different Search Boxes…
In the Member menu, click Search. From the above, we can see that if we want to search for people, we should use the Help, Member Directory search box or use the Find People menu item. If we want to search for topics, we should use the Member Menu Search box.
What’s Next?
In our next article, we will review how to create simple posts. We will then add a pinned post, a post with an image, a post with a video and finally a post with a Topic Tag which can be found by members doing a search with the Member Menu Search box.